How to Photograph Interiors
Prepare the Space
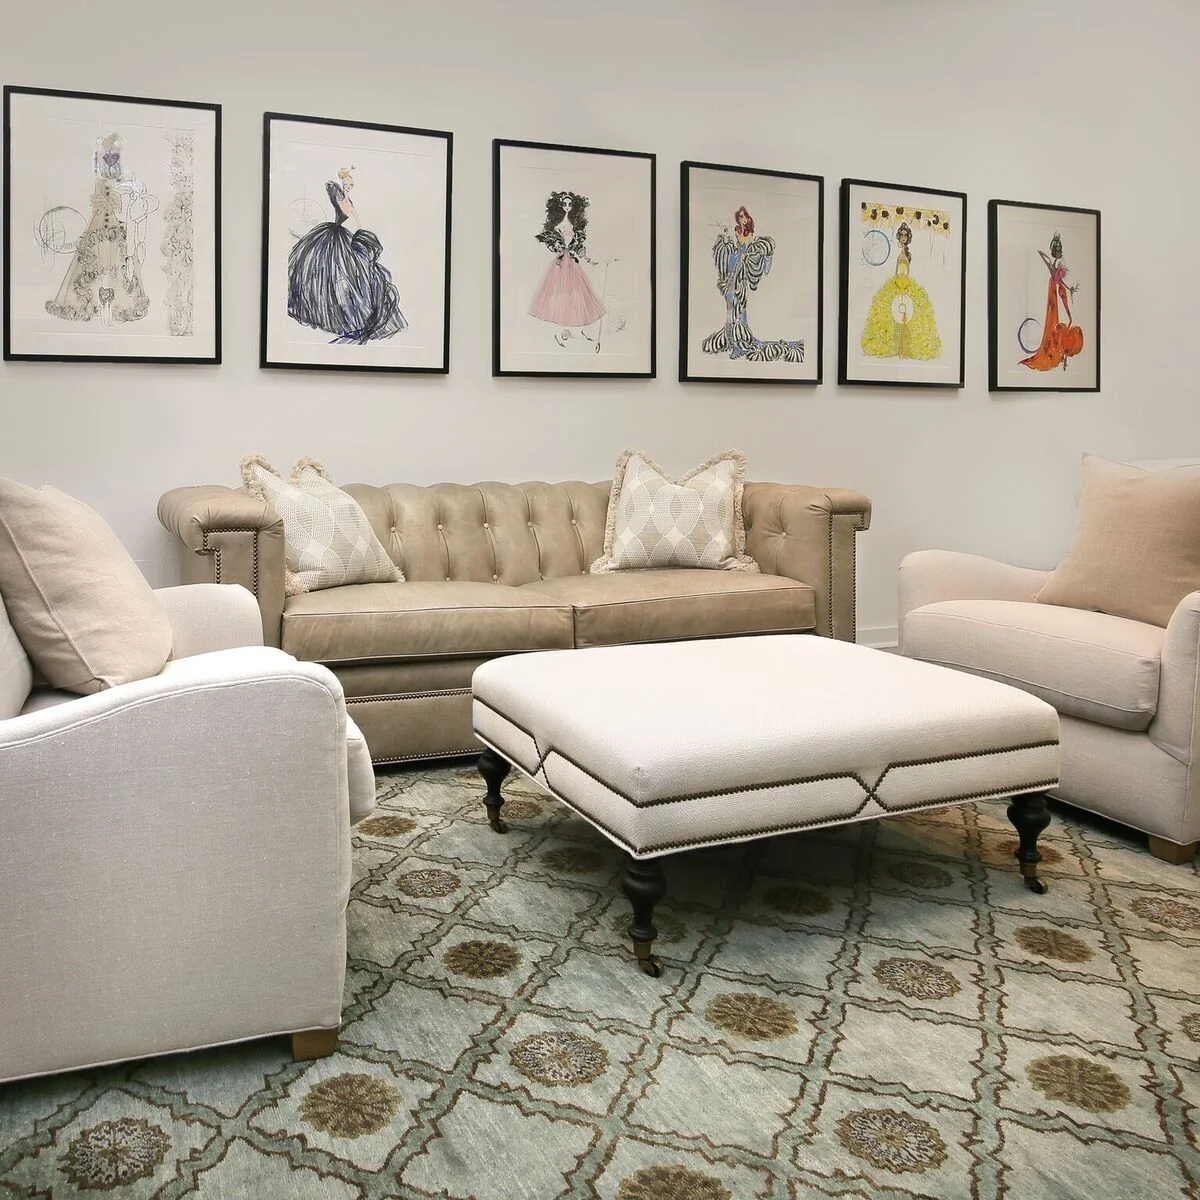
The first step to photographing interiors is also one of the most important. In order to make the space show well in photos it should first be cleaned and decluttered. As a general rule you should go back through the space with a basket once it’s already been cleaned and remove items you may have missed the first time. In a kitchen this may be plastic soap dispenser in a store it could be brochures. These extra items are unnecessary and distract from the furniture, product, or space you are capturing.
Control the Lighting
If your shot will have windows in the background open them up to showcase the view. Play with your camera’s exposure and find a setting that keeps the view in focus without making the room too dark. Advanced camera users with access to post processing software may want to bracket the image and later compile the shots so you you can have all parts of the image perfectly exposed. A simpler technique is to under expose the room while properly exposing for the exterior then brush over the dark areas with an exposure brush in a program like Adobe’s Lightroom. If shooting away from a window you may want to close the blinds to avoid streams of light falling on the floor and walls creating bright highlights. This is a matter of preference. The first couple of times you photograph an interior try experimenting with the blinds open and closed to determine which lighting you prefer. Another thing you may want to play around with is whether or not you like shooting with the lights on. Lights can cause drastic highlights and unnatural color cast that can be time consuming to correct later.
Adjust Your Camera Settings
If you are able to shoot using manual mode try the following settings. Set your ISO to 200, your aperture to 10, and then choose the shutter speed to what your camera’s light meter suggest. These settings keep will allow you to have larger areas in focus while maintaining quality so you can adjust for shadows in post production. You may want to shoot a stop under or over what your camera suggest after looking at the preview image. Trial and error is a great teacher. If this sounds complicated simply keep your settings on automatic with any pop-up flashes turned off.
Use a Tripod
The above mentioned settings, including auto mode without a flash, will require using a tripod so prevent camera shake and blurry images.
Consider Using Flash
If you have an external flash you can point it directly up towards the ceiling and have it set to meter through the lens. For advanced camera users you can adjust the flash’s power depending on your existing light. This type of lighting works best with white ceilings as colorful ceilings have the tendency to throw off the white balance.
Complete Images in Post Production
Check back! This final step will be covered in a later blog.
If you would like to chat about photography or how the Burnette Agency can help grow your brand awareness and social media presence please e-mail at info@theburnetteagency.com or call 404-850-2081

